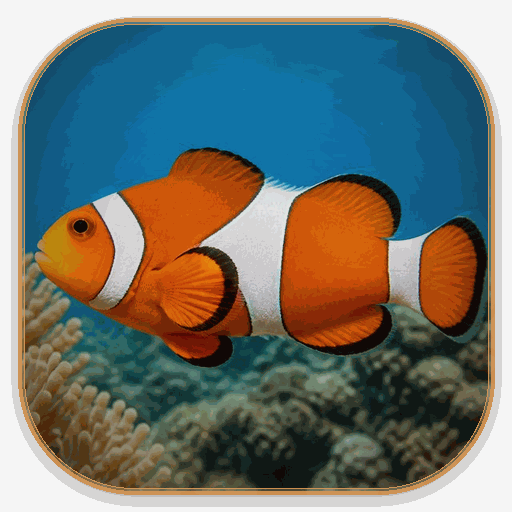
Ready to check a photo?
When your photo is ready, Fish Identifier can suggest a likely fish, visible clues, possible lookalikes, and a useful next step. Keep the image and your location notes together so you can check the suggestion rather than treating it as proof.
Start with evidence
The fastest way to create a fish identification photo
Before taking a picture, decide what the image must show. A useful fish identification photo lets someone see the outline from nose to tail, the position of the fins, the shape of the mouth, and any stripes, spots, bars, or lateral line. A close crop can make a colorful fish look impressive while hiding the exact features that separate two lookalikes. Step back far enough to keep the full fish in frame, then move closer for a separate detail view.
Use a phone if that is what you have. Hold it level with the fish instead of pointing sharply down from an angle. Tap the fish to focus, pause for a steady frame, and take several images rather than trusting the first one. If the fish is moving, keep the camera ready and choose the frame with the least blur. A simple sequence is more reliable than trying to make one perfect photograph do every job.
Keep the original file. Do not send only a heavily filtered or tightly cropped copy. Original resolution preserves small fin rays, scale edges, eye position, and pattern boundaries that may matter later. If you edit a copy for sharing, keep the unedited image beside it and label which one is original.
Three views
Capture a simple three-photo set
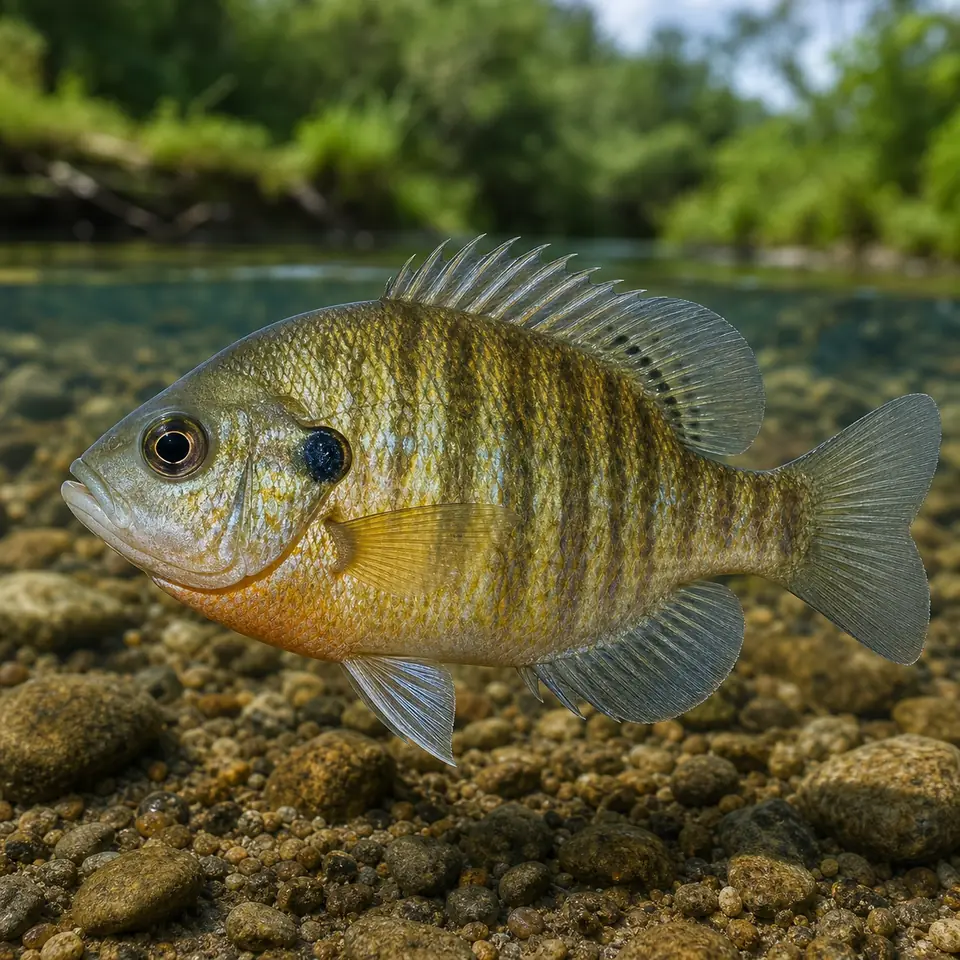
The best photo for fish identification is often a small set, not a single frame. Start with a full side profile. Keep the head, dorsal fin, belly, tail, and every visible fin inside the frame. The body should fill enough of the image to show its shape, but leave a little space around the outline so the tail or fin tip is not clipped.
Next take a head-and-mouth view. A slightly closer image can show whether the mouth points up, forward, or down, whether barbels are present, how the snout is shaped, and whether the eye has a distinctive position. Keep the lens parallel to the fish when possible; a steep angle can distort the head and make a normal mouth look unusual.
Finish with a fin, tail, or pattern view. Raise or spread a fin only when the fish is already being handled safely and local rules allow it. Otherwise photograph the fish in its natural position. For a reef or underwater subject, use a second angle that reveals the tail and pectoral fins. The three views answer different questions: what is the body shape, what is the head like, and which fins or markings separate the candidates?
| View | What it should show | Common failure |
|---|---|---|
| Full profile | Whole body, outline, fins, tail, markings | Tail or dorsal fin cropped out |
| Head detail | Eye, mouth position, snout, barbels, gill cover | Reflection or focus on the background |
| Fin or scene detail | Fin rays, tail shape, pattern edge, habitat | Angle hides the feature or changes its color |
Make clues visible
Control light, focus, scale, and background
Soft, even light usually helps more than a bright flash. Harsh sunlight can create a dark shadow on one side and bleach a stripe on the other. Flash against glass or wet skin creates a white reflection that hides scales and markings. Move to open shade, turn off nearby reflections, or change your angle until the eye and body surface are visible. Underwater, watch for suspended particles and blue or green color casts; record the scene instead of trying to correct every color in an editor.
Focus on the fish, not the angler, gravel, tank decoration, or water surface. Portrait mode and strong background blur can remove the edge of a fin. A neutral background makes the outline easier to read, but do not place a fish on a dry or unsafe surface just for a cleaner image. A ruler or familiar object can provide scale when it is already safe and allowed; it is supporting context, not a reason to prolong handling.
Check the image before releasing the fish or leaving the site. Zoom in on the head, dorsal fin, tail, and markings. If any key feature is soft, blocked, or reflected, take one replacement view while the setup is still available. This quick review prevents a common failure: returning home with a beautiful image that cannot answer the identification question.
Light
Use soft, even light and avoid flash glare, bright reflections, and strong color casts.
Focus
Tap the fish and keep the eye, mouth, fins, and body markings sharp.
Scale
Add a safe size reference only when it does not delay release or risk the fish.
Background
Choose a calm background, but never move or dry a fish for a cleaner frame.
Match the setting
Adapt the method to catch, aquarium, and underwater scenes
For a caught fish, plan the camera before the fish leaves the water. Wet your hands, support the body, keep fingers away from the eyes and gill openings, and take the essential views quickly. Follow current local rules for protected species, minimum sizes, and release. If the fish is unfamiliar or has obvious spines, teeth, or venomous-looking structures, do not handle it for a better photograph. A distant habitat photo plus a safe profile may be better evidence than a risky close-up.
For an aquarium fish, photograph square to the glass and clean the outside surface first. Turn off a nearby lamp or move away from a bright window to reduce reflections. Wait for the fish to pass a clear part of the tank, then take several frames. Include one image with the tank environment when it helps show freshwater, marine, reef, or brackish context, but keep the actual identification view large enough to see the fish.
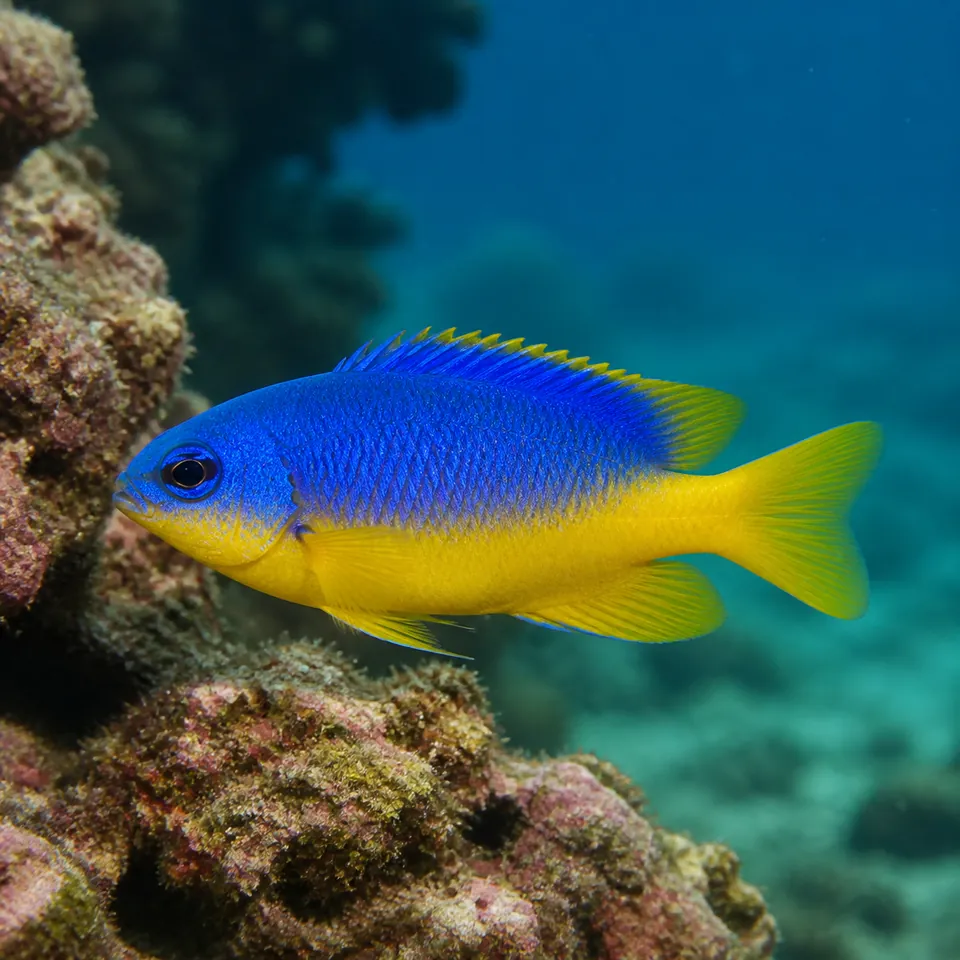
For snorkeling or diving, give the camera time to focus and avoid chasing the subject. A side-on view, a tail view, and a short habitat clip or still can preserve more information than a close, tilted frame. Do not touch coral, move animals, or disturb a hiding fish. The best underwater fish identification photo is the one that documents the animal without changing the scene.
For a pond, river, or shoreline observation, photograph the fish where it is when possible and take a separate frame of the water, plants, substrate, or structure. Habitat is a useful filter for a candidate list, but it should support anatomy rather than override it.
Write down context
Add location and habitat notes before you upload
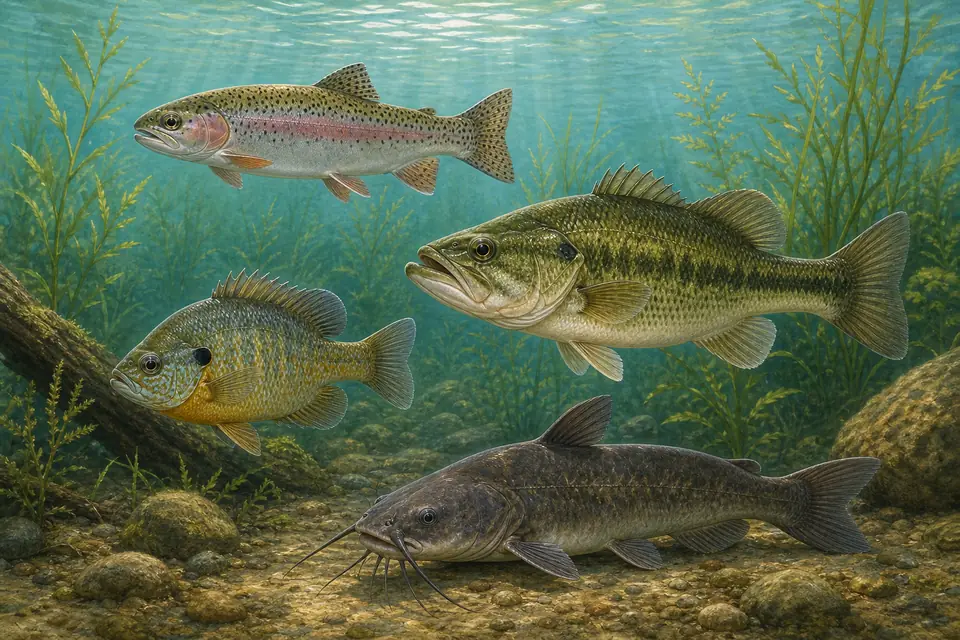
A photo shows anatomy, but it does not show the full story. Record the broad region, nearest water body, fresh or salt water, habitat, approximate depth, date, and whether the fish was in an aquarium, on a shoreline, or underwater. Note whether the fish was swimming in open water, hiding in vegetation, resting near the bottom, or attached to a structure. These details help a field guide or identifier reduce an impossible candidate list, while still leaving the visible anatomy in charge.
Avoid turning a location guess into a species claim. A fish seen near a freshwater outlet may tolerate brackish water; a colorful aquarium fish may have a trade name that does not match a scientific name. Write context as a clue with a confidence level: known, estimated, or unknown. Keeping the notes separate from the image also makes it easier to correct a mistaken location later.
- Region or country, plus the nearest named water body when known
- Freshwater, saltwater, brackish water, aquarium, or unknown
- Habitat, depth, vegetation, bottom type, and nearby structure
- Date, time, water conditions, and whether the fish was released
- Any feature you could not see clearly and should not be guessed
Review a suggestion
Check a suggested fish match against the image
When you use a fish identifier, treat the result as a shortlist and explanation. Read which visible clues support the likely species, then compare those clues with your original image. Does the candidate have the same body depth, mouth position, fin arrangement, tail shape, and marking boundaries? If the result relies only on a color word, confidence should remain low because lighting, water color, breeding condition, and juvenile patterns can change appearance.
Open a regional field guide or a trusted fish database for the closest lookalikes. Write down one supporting feature and one contradiction for each candidate. A contradiction matters: an impossible range, missing fin, incompatible mouth, or different tail can be more useful than a general color match. If the decisive feature is hidden, report a family or group rather than forcing a species name.
Use the tool again only when a new photograph adds evidence. Re-uploading the same blurry crop will not create new information. A second attempt should change the view, light, focus, or context note, and you should keep both results so you can see whether the explanation becomes more specific or stays uncertain.
Use judgment
Know the safety and certainty limits
A fish identification photo cannot confirm food safety, toxicity, contamination, protected status, invasive status, legal catch limits, age, weight, value, sex, health, or genetic identity. Those questions require current local guidance or a qualified authority. A likely visual match is a starting point for research, not permission to eat, keep, sell, move, or release an animal in a particular way.
Protect the fish and yourself. Keep handling short, wet your hands, support the body, and avoid touching spines, teeth, gills, or mucus. Do not move a fish, coral, or habitat feature for a picture. Before uploading, check the service privacy policy and remove people, boat registration numbers, or private location details that do not help identification.
Common questions
Fish identification photo FAQ
These answers cover the questions people usually ask after taking a fish photo and before trusting a name.
What is the best fish identification photo?
Use a sharp side profile that shows the entire fish, then add a head-and-mouth view and a fin or tail view. Even light, low glare, visible markings, and a short habitat note make the set more useful than one dramatic but incomplete image.
Can I identify a fish from one photo?
Sometimes a full, sharp profile is enough to narrow a fish to a likely species or group. Lookalikes, juveniles, hybrids, poor light, cropped fins, and hidden mouths can keep the result uncertain, so keep a second view when possible.
Should I photograph every fin?
Photograph the fins that are visible and useful for the group, especially the dorsal, tail, anal, pectoral, and pelvic fins. Do not force a fin open or delay release just to create a perfect view.
How do I photograph a fish through aquarium glass?
Clean the outside of the glass, shoot square to the pane, reduce nearby reflections, and wait for the fish to pass a clear area. Take several frames and include a separate tank or habitat view when it helps distinguish freshwater, marine, or reef context.
Does a fish photo prove that it is safe to eat or legal to keep?
No. A visual match does not confirm food safety, toxins, contamination, protected status, invasive status, size limits, or current regulations. Check the relevant local authority before making a decision.
What should I do when the identifier gives two similar fish?
Compare the explanations with the original image, list one supporting trait and one contradiction for each candidate, then take a new view that shows the missing feature. If the feature remains hidden, keep the result at group level and ask a qualified local source.
Before you upload
A better photo creates a better starting point
A reliable fish identification photo is a small evidence package: a full profile, a detail view, steady light, safe handling, and honest context notes. That package helps an online identifier explain a likely match and helps a person verify it in a regional guide. When a key feature is missing, keep the uncertainty visible and take a safer, more informative next photo instead of forcing a name.
Use the checklist above, keep your original files, and treat every result as a research lead. The clearer the evidence, the easier it is to compare a fish with its closest lookalikes.
Open Fish IdentifierReference resources
Florida Fish and Wildlife Photo Tips — Official guidance on showing the whole fish, managing light and focus, handling fish briefly, and supporting release.
Koaw Nature: How to photograph your fish — A practical multi-view and smartphone workflow for recording visible identification features.
FishBase — A reference database for checking candidate names and distribution after a photo creates a shortlist.